Running TranscribeDesktop in the Nectar Virtual Desktop Service
Logging in to the nectar virtual desktop service
- Go to the Nectar Virtual Desktop Service
- Click on “Sign in”.
- Choose either the AAF (Australia) or Reannz Tuakiri (New Zealand) option based on your affiliation.
- Choose your institution from the list.
- Sign in with your institution’s account. If this is the first time you are using Nectar, you may be asked if you want to share details with Nectar. Agree to proceed.
-
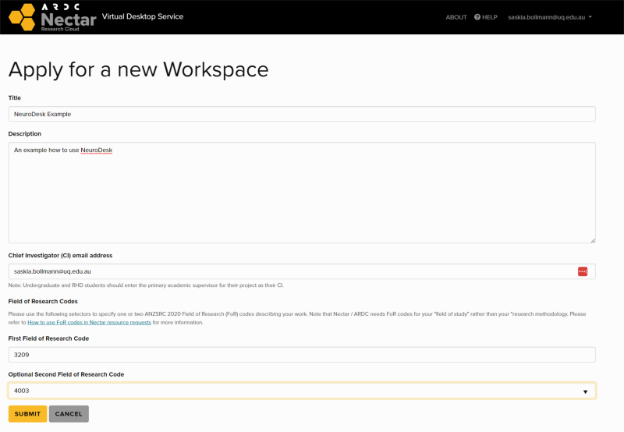
Click on create a Workspace (you only need to do this when you sign in for the first time.)

-
Fill in the form ‘Apply for new Workspace’ and submit.
Start a workspace desktop
-
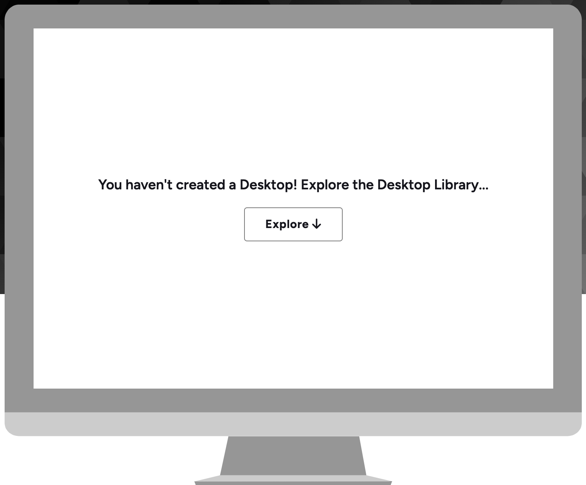
Click on “Explore”.

-
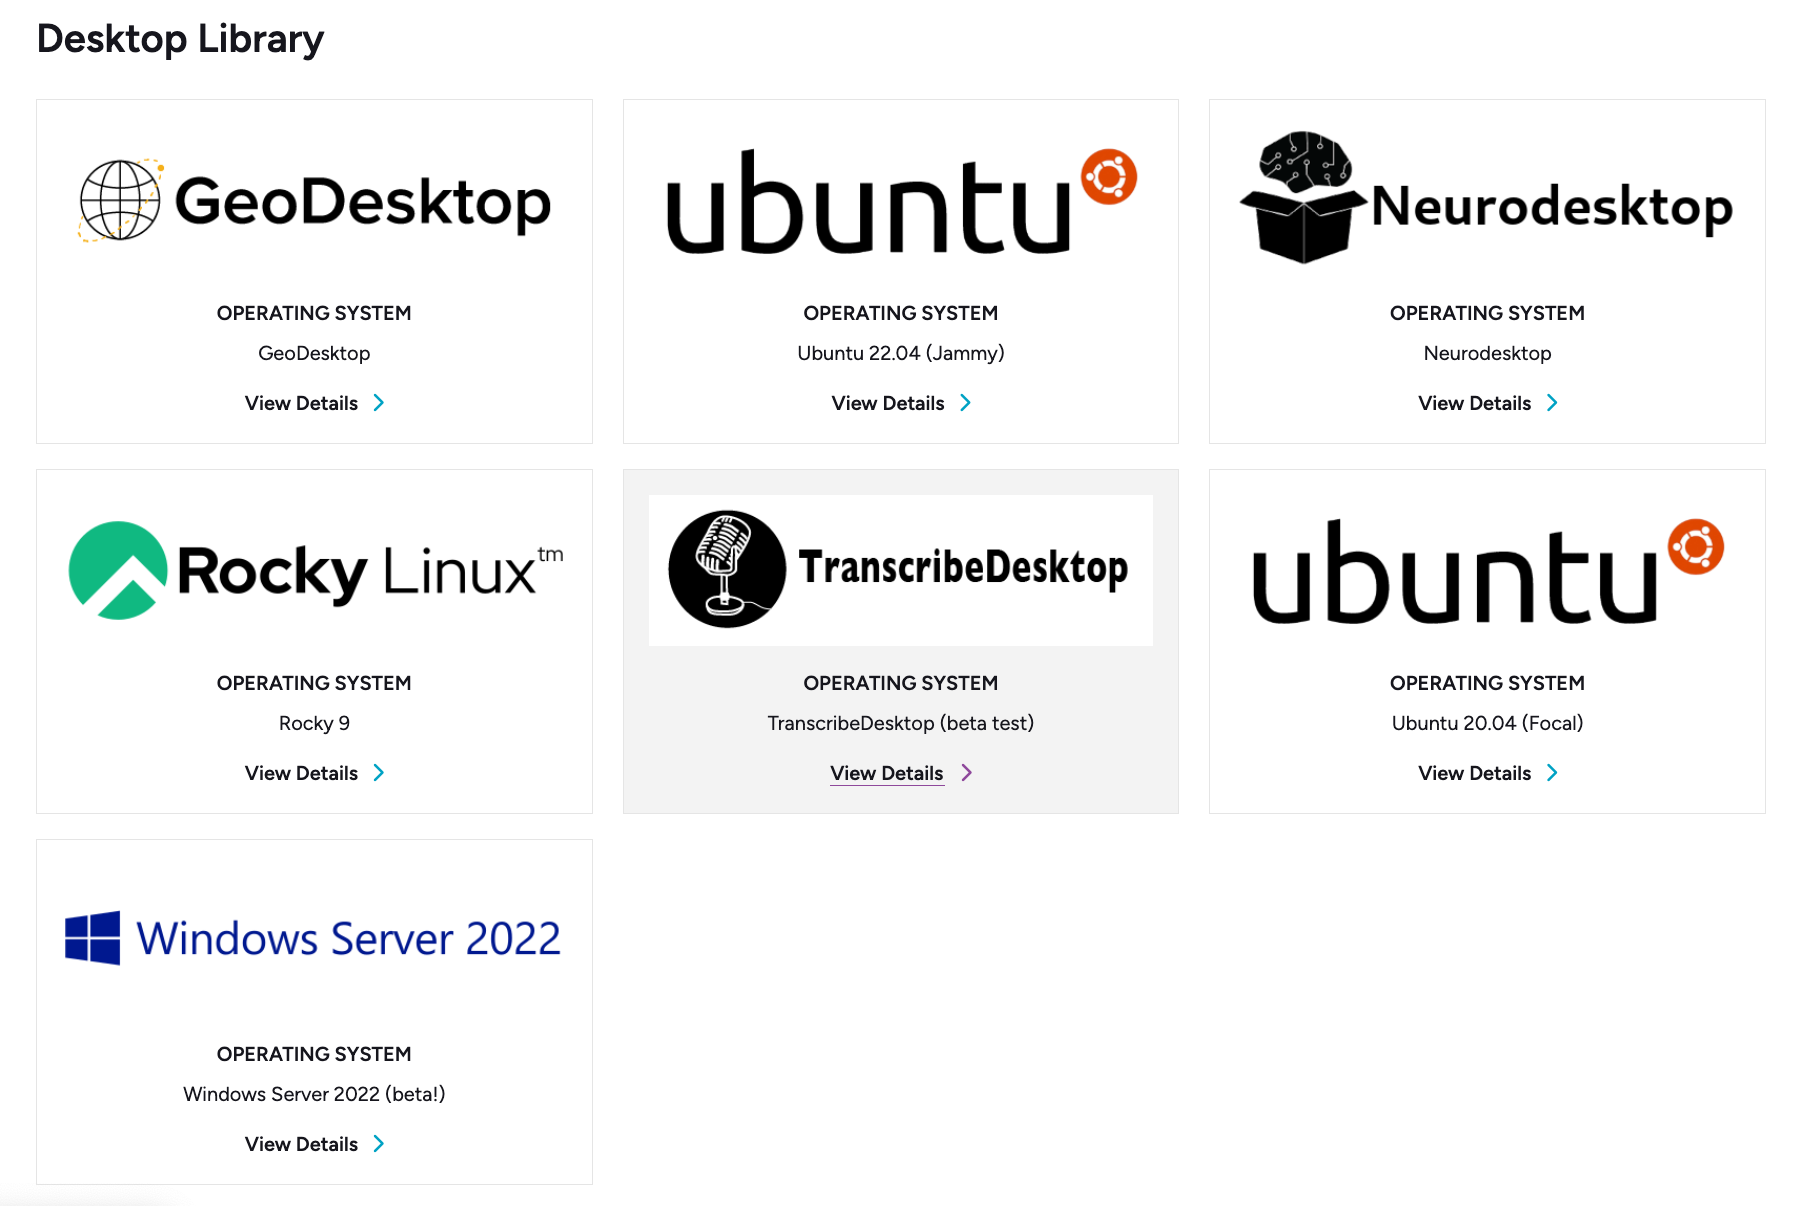
Select TranscribeDesktop.

-
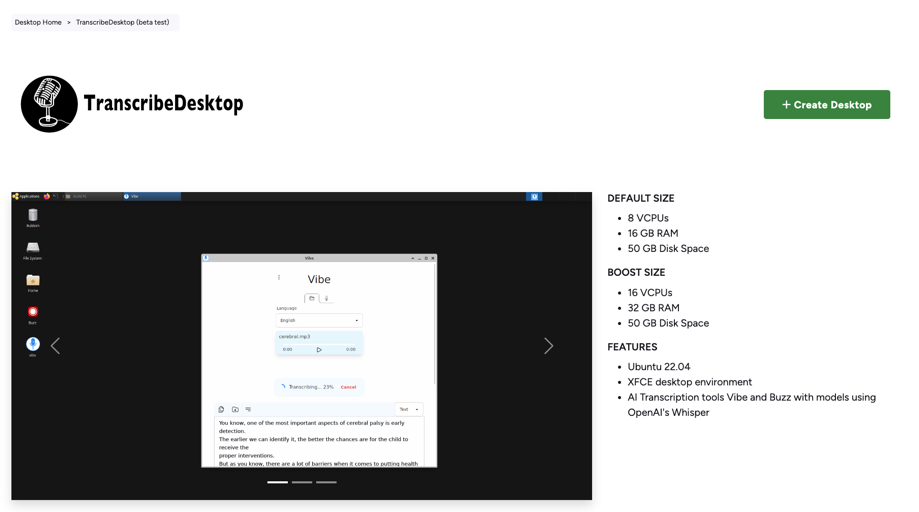
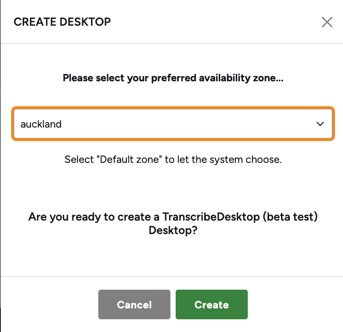
Click the “Create Desktop” button on the top right corner.
- Choose the desired availability zone in the window which pops up.
-
Click the ”Create” button on the bottom right.
-
Wait until everything is completed.
-
Click “Open Desktop”. This will open the virtual desktop.
Using the virtual desktop
For a general guide on using Nectar virtual desktops, read the Virtual Desktop Serivce tutorial.
For a specific explanation on how to launch the various applications available in the TranscribeDesktop desktop, follow the instructions for each here: